See details
READ MORE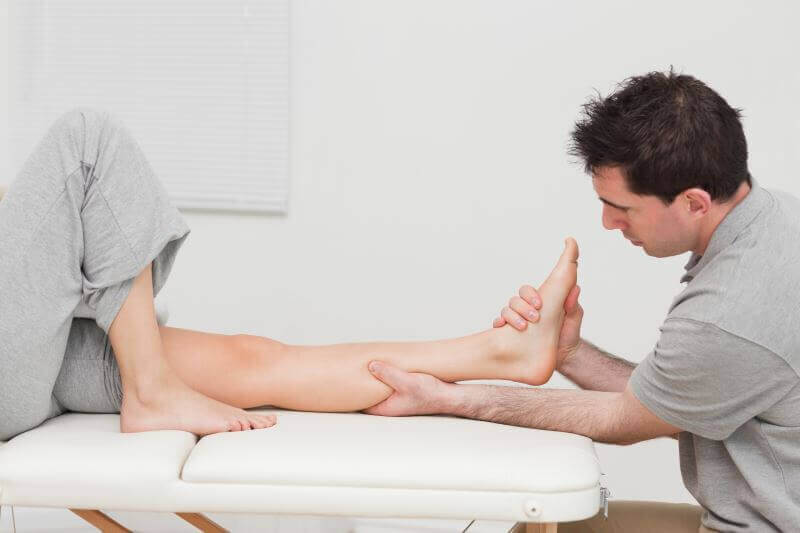
Ankle sprain recovery protocol
The ankle is a joint complex that allows the orientation of the foot in all directions of space, shock absorption, and weight transmission to the support in static and locomotion.Sprained ankle occurs when the ligaments that connect the leg and calf are twisted. Although common, ankle sprains are not always minor injuries. About 25% of those who have an ankle sprain will have long-term joint pain and some sensitivity.
Ligament injuries range from simple stretches to partial or complete ruptures. As a first step, a staging of the lesion will be done by the specialist doctor:
- grade I represent the stretching of the ligaments, presenting a slight sensitivity, edema (swelling of the ankle), and stiffness. Pain occurs when walking.
- grade II is a partial injury of the ligaments with moderate pain, edema, and bruising. Injured areas are sensitive to palpation and there is pain while walking.
- grade III represents the complete rupture of the affected ligament accompanied by severe edema and bruising. Most of the time walking is impossible, there is strong pain, although the initial pain can decrease immediately in intensity.
Symptoms of sprain
The following cases are recommended for orthopedic consultation:
- there is moderate or severe pain, severe edema, and bruising
- there is numbness and tingling (paresthesias)
The difference between sprain and dislocation
The symptoms of a sprain can be confused with the symptoms of dislocation, it is still very important to differentiate between the two conditions.
A sprain is the rapid and violent stretching of the joint ligaments and can occur on the ankle, knee, or hand joints. In this case, the ligaments are not torn.
Dislocation means the movement of a bone in the joint. The dislocation occurs by falling and can be in the legs, elbow, or shoulder. In general, this condition often occurs in athletes.
Recovery protocol in the treatment of sprain
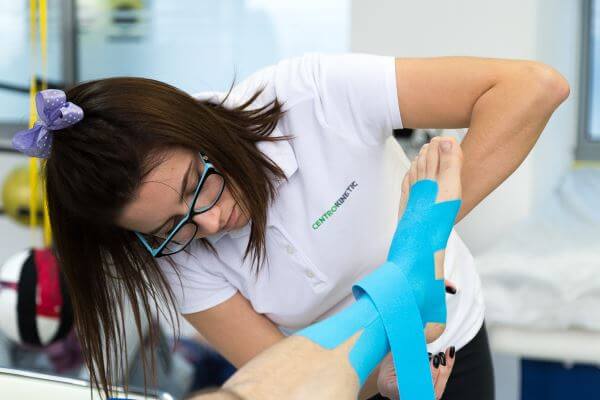
The treatment is divided into 4 phases. Progress from one phase to another depends on the degree of pain and local swelling, as well as how to immobilize the ankle (elastic band or plaster splint).Phase I: up to 72 hours
To reduce local pain and swelling, apply ice for 20 minutes every hour. Compression of the ankle through the elastic band will limit local edema. The ankle should be elevated as much as possible to minimize local edema. For immobilization of the ankle, the patient can use an ankle orthosis or a plaster splint.
Phase II: first week
You can walk and load the affected ankle as soon as you feel comfortable. For mobilization, you can first use a pair of crutches. Use your pain as a guide for the level of activity you are performing.
.png)
After immobilization, the ankle will become stiff. It is important to regain the full range of ankle movements. As an exercise to regain these movements, rest your heel on the bed and "write" the letters of the alphabet with your thumb, making letters as big as you can.
Phase III: the second week +
After the local pain and edema have subsided, you should start walking normally, while maintaining an elastic bandage at the ankle. Continue to mobilize your ankle and strengthen your muscles with Theraband elastic bands.
Phase IV:
The ankle must be strong enough to return to sports activities or activities of daily living. Early return can lead to injuries or chronic problems.
The moment you can sit on your fingers for 20 seconds and jump on them 10 times, you can start running. Initially, you should run in a straight line until you feel no pain at all. Once you can run in a straight line without pain, you can start zigzag exercises.
Exercises
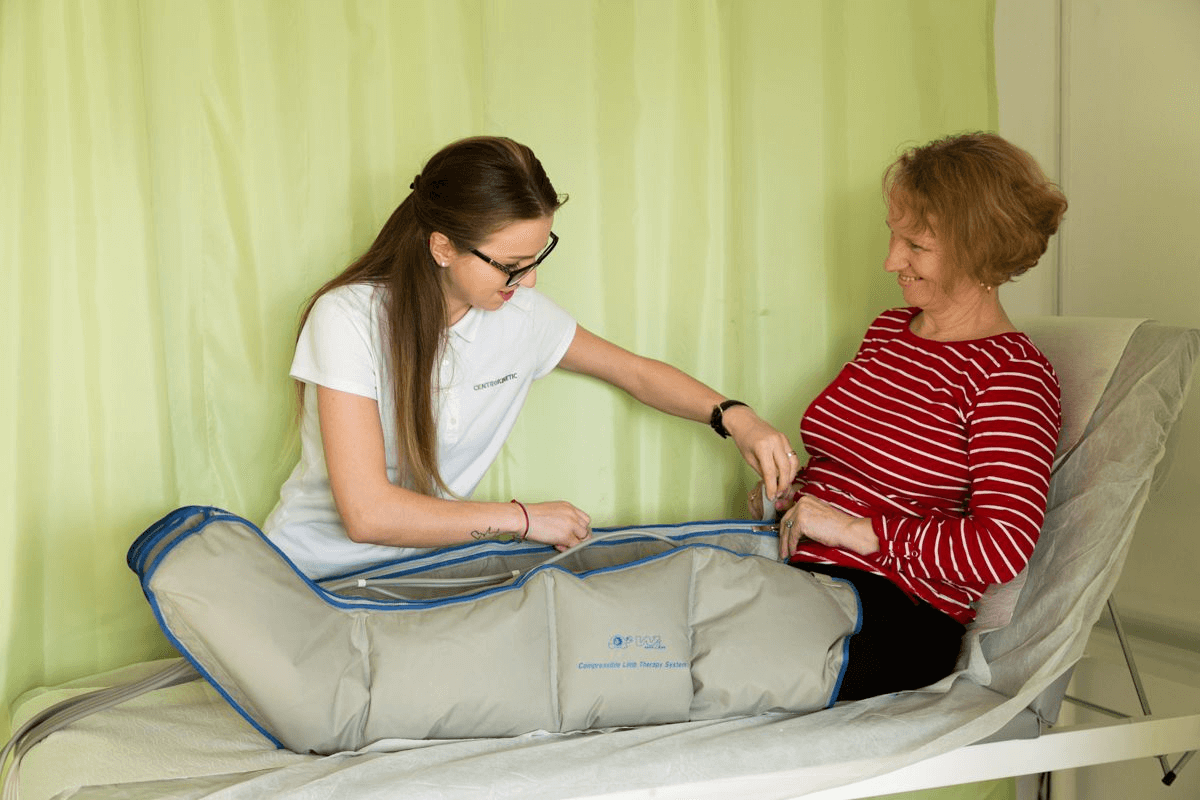
The following exercises will strengthen the ankle muscles and develop ankle reflexes. By performing the following exercises you will regain the functionality of your ankle and prevent re-injury and the development of chronic problems.Ankle eversion
With elastic bands anchored around your feet, move your injured leg outward. Repeat 30 times.
Plantar flexion
With elastic bands anchored around the foot, perform a pedal pressing movement on the car. Repeat 30 times.
Dorsiflexion of the ankle
With the help of elastic bands anchored by a hard object, withdraw your fingers towards the knees, repeating the movement 30 times.
Ankle inversion
Cross your legs with your healthy foot underneath, then, with the help of elastic bands, move your ankle inwards, repeating this movement 30 times.
Calf stretching
Keep your heel straight on the floor, with your knee fully extended. Lean forward at the thighs, your hands supporting your weight. When you feel a slight stretch in the back of the leg and knee, hold this position for 15-20 seconds for 3-5 repetitions.
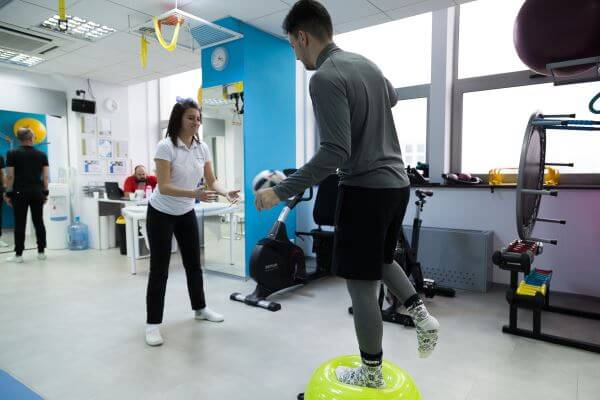
Balance in one leg
Try to keep your balance only in the injured leg. The moment you can maintain your balance without problems, you can perform this exercise with your eyes closed or while the physical therapist throws a ball in your hands. Perform this exercise for 5 minutes.
.jpg)
SUCCESSFUL RECOVERY STORIES

MAKE AN APPOINTMENT
CONTACT US
MAKE AN APPOINTMENT
FOR AN EXAMINATION
See here how you can make an appointment and the location of our clinics.
MAKE AN APPOINTMENT


