See details
READ MORE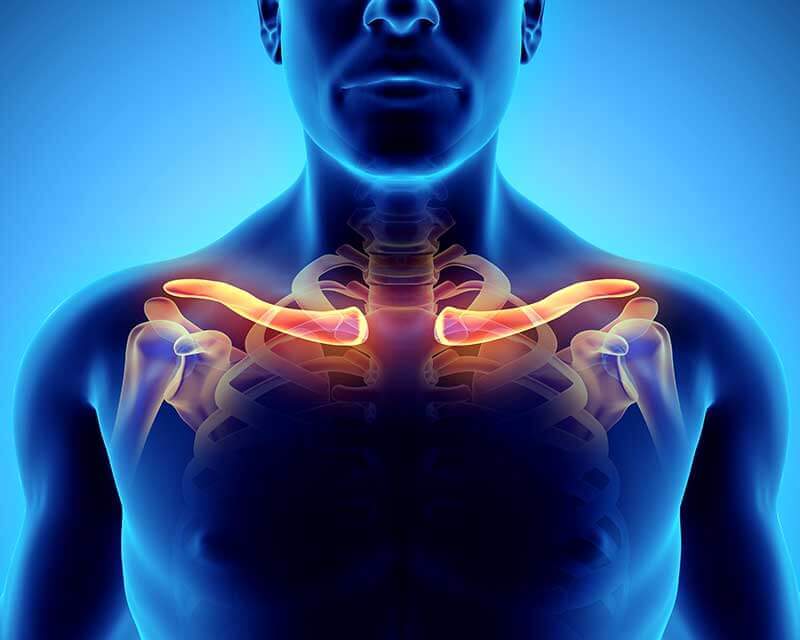
Recovery protocol after clavicle fracture
A clavicle fracture is a common sports condition that generally occurs as a result of a shoulder impact or a fall on the outstretched arm. These fractures can be incomplete or complete and often require surgical intervention, followed by a period of immobilization.Each fracture is unique and therefore it is very important to work with your doctor and physiotherapist to design a recovery program specific to your injury, level of sports training, and lifestyle.
In general, all recovery programs are designed to allow the patient to regain full range of motion first, then insist on regaining strength.
In the following, we will discuss some basic recovery exercises that are performed in a clavicle fracture without complications.
General principles
- No arm lifts: do not raise your operated upper limb to more than 70 degrees in any direction in the first 4 weeks postoperatively
- No lifting of objects: do not lift objects heavier than 2 kg for 6 weeks from the time of operation
- Cold local applications: apply ice to the surgical wound and arm for at least 15 minutes at least 3 times a day to reduce pain and inflammatory syndrome.
- Immobilization: keep the operated limb in a special immobilization for 3-4 weeks postoperatively to support your clavicle effortlessly
- Pay attention to body mechanics: even if you have an immobilized limb, it is very important to maintain a correct muscle and bone alignment to avoid possible problems that may occur with vicious positions. Do not keep your shoulders raised or lowered under immobilization.
Week 1
Together with your doctor and physical therapist, you will work on a recovery program specific to your needs. In principle, it will contain:- Pendulum exercises: in this exercise, you will bend forward at the level of the pelvis and you will let your operated arm hang freely next to your body. Make small concentric movements with the operated limb and let your arm move freely, both clockwise and counterclockwise.
- Strengthening exercises: squeeze a small ball (anti-stress ball/squash ball) with light movements and the same intensity several times a day.
- Isometric exercises: during isometric exercises, you will contract your muscles without moving, however. There are several isometric exercises you can perform, including here:
- Isometric exercises of the triceps muscle: the triceps muscle is directly responsible for the extension of the elbow
- Stretch your arm on a table with your elbow bent at 90 degrees
- Squeeze your fist and press the table with your whole forearm, starting from the fist towards the elbow
- The arm will not move, but you will contract your triceps muscle.
- Isometric exercises of the rotator cuff: at the level of the muscles that make up the rotator cuff, incomplete or complete ruptures often occur, along with clavicle fractures. Isometric exercises of internal and external rotation are recommended for regaining muscle strength at this level.
- Isometric exercises of internal and external rotation: position yourself at the level of a door frame. The elbow will be in a 90-degree flexion position, with the arm next to the body. For internal rotation, place your palm on the door frame with your thumb up. For internal rotation, you will place the back of your palm on the door frame, with your thumb upwards. Press with your palm and hold the position for 5 seconds.
- Isometric exercises of the shoulder: also in the recovery program, it is possible to be recommended isometric exercises of the shoulder that include abduction, adduction, extension, and flexion, with the arm next to the body.
- Isometric exercises of the triceps muscle: the triceps muscle is directly responsible for the extension of the elbow
If you feel ready, you can also perform cardio exercises such as walking, climbing stairs, or riding a medical bike in the recovery program.
Week 2-4
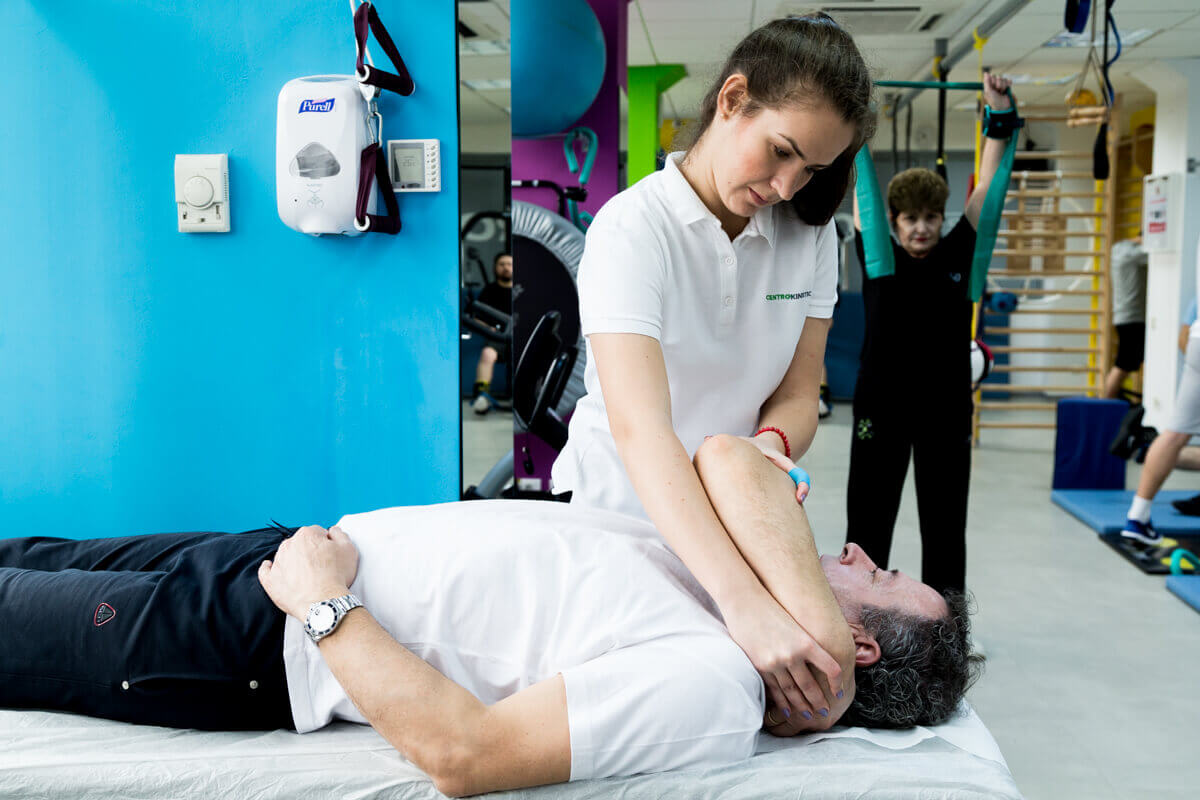
The physiotherapist will continue to deal with soft tissue injuries while paying close attention to any vicious positions. To improve the range of motion, you will begin "wall climbing" exercises or pulley exercises. The "wall climbing" movement is done by raising the hand as high as possible on the wall without feeling any significant discomfort at the shoulder. Every day, you have to progress more and more.Also during this period, you will start the exercises to regain the full scope of the elbow movement through light pivoting and flexion/extension exercises at the level of the fist and elbow. Also during this period, you will start the exercises to regain the full scope of the elbow movement through light pivoting and flexion/extension exercises at the level of the fist and elbow.
Week 4-8
If you heal properly, you will increase the degree of movement of the shoulder and you will start the strengthening exercises. The rotator cuff exercises will continue, but this time adding resistance bands or small weights.Your guide at this time should be the degree of pain, being the only symptom that can suggest the degree of effort to make. However, you should avoid excessive lifting and rotating movements of the arm.
Week 8-12
During this phase, you will work to fully regain the range of motion in all planes. At the same time, you will continue the exercises to regain muscle strength, but avoiding lifting heavy objects. Focus mainly on muscular endurance by performing exercises with lighter weights, but doing more repetitions.Week 12-16
If your physical therapist thinks you are ready, you will begin a more aggressive program to regain muscle strength. However, stop any activity if you experience pain or instability with these movements. At the end of this period, the functional tests should reveal that the operated part is as strong and flexible as the healthy one, thus allowing you to return without problems to the current sports activities that you carry out before the injury.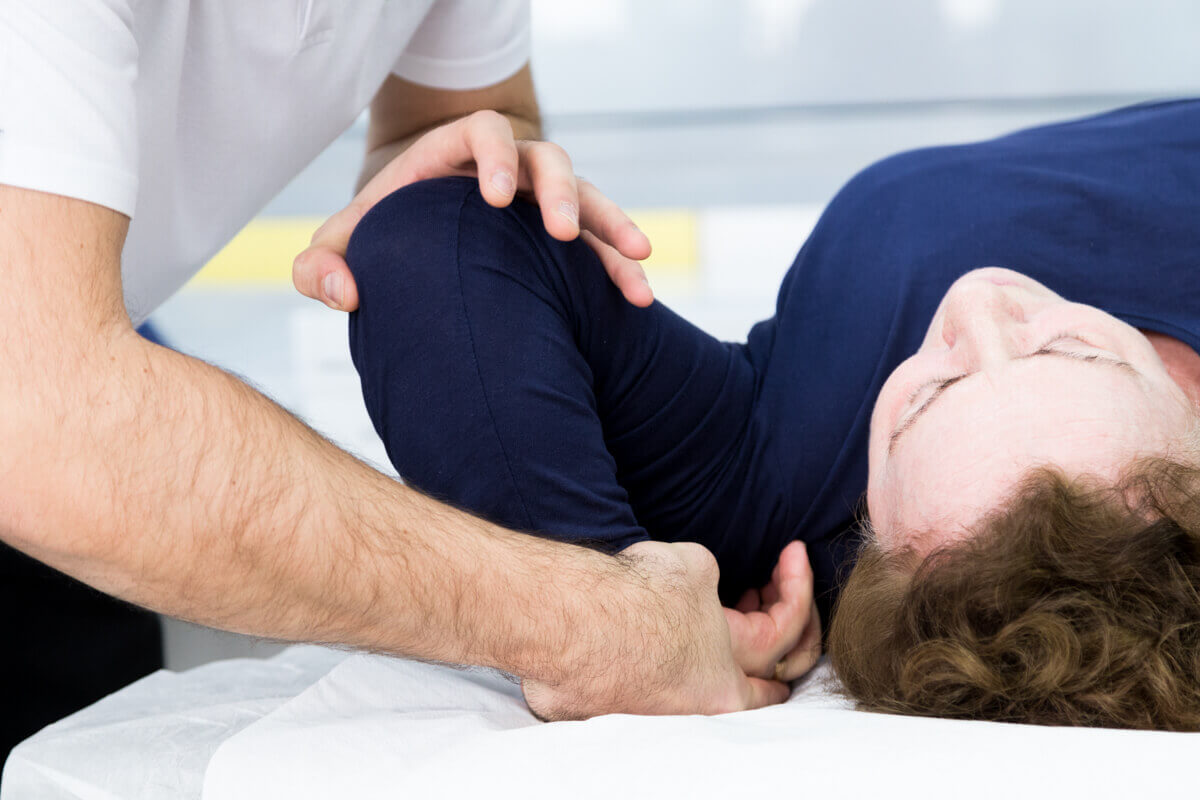
SUCCESSFUL RECOVERY STORIES

MAKE AN APPOINTMENT
CONTACT US
MAKE AN APPOINTMENT
FOR AN EXAMINATION
See here how you can make an appointment and the location of our clinics.
MAKE AN APPOINTMENT

